
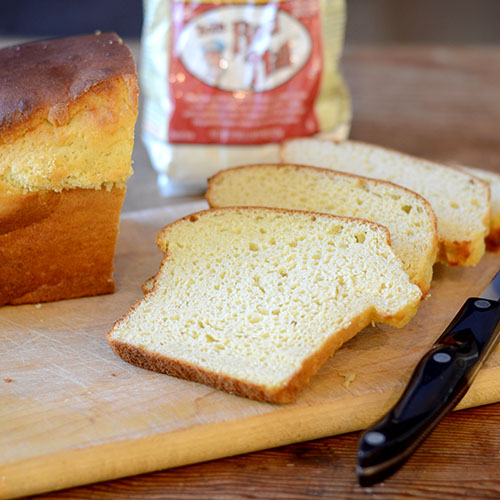
Update: So many people come by to see this recipe for my Delicious Gluten Free Honey White Bread Recipe, I thought it was time to add an update. This bread is so Soft and Fluffy and holds together!
I now eat mostly gluten free so having bread is important to me. And I know it is important to so many gluten free people as well. The best way to to have gluten free bread is being willing to make a loaf yourself. So immediately below this paragraph, I have posted some of my favorite gluten free breads that I have made. I have worked with different gluten free flours and am continuing to work to find the best consistency, texture and taste.
TEFF AND OAT FLOUR (looks like a rye bread, doesn’t it?)
I have had many people ask if the bread will turn out if made in a bread machine. I want to share that my readers have not answered. Birdie says that it did turn out. However, she liked it even better when she kneaded it in the bread machine, transferred it to a loaf pan and cooked in the oven.
My wife has a friend who recently went gluten-free to lose weight. It was very successful for him. He is an athlete and he said he felt he had more energy. Based on his positive feedback, my wife and I have discussed maybe trying a week of gluten-free eating. I have done a little research on gluten-free eating. If you do not need to eat gluten-free for health reasons, then you need to be careful. This WebMD link suggests that you need to make sure you make up for the lost vitamins, minerals and fiber. I will need to research this concept more before my wife and I embark on this concept.
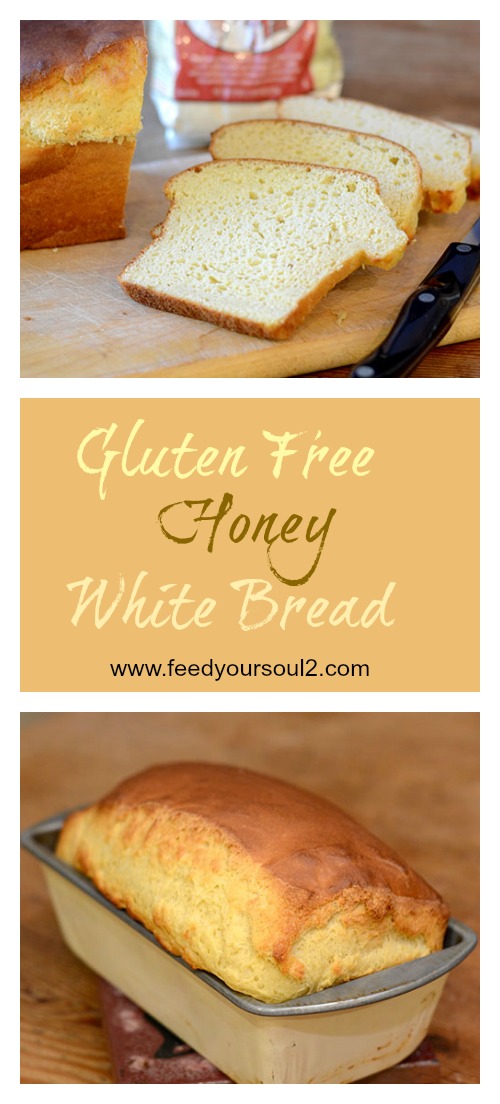

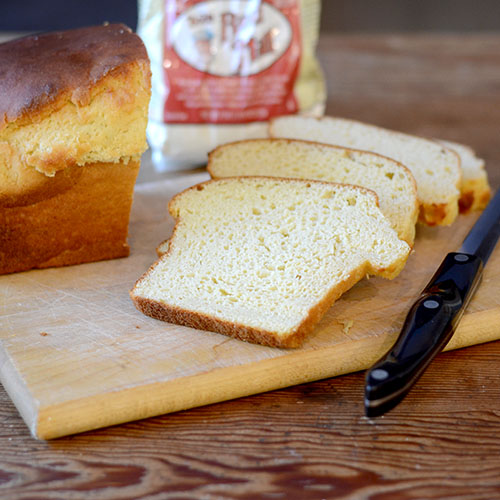

As for my Gluten Free Honey White Bread, it turned out perfect. The bread had great texture, great body. Now, I also used it to make a grilled sandwich (post later), and this gluten-free honey white bread toasts perfectly. Toasted is probably the best way to eat this bread. I found that after a few days, the bread does not hold up to well when using for a sandwich. Taste was still really good. It was not sturdy.

- 1½ Cup Water or Milk (or Milk Alternative)
- 4 Tablespoons Honey
- 2½ teaspoons Dry Active Yeast
- 3 Cups of Bob’s Red Mill gluten free flour mix
- 1½ teaspoons Xanthan Gum (
- 4 teaspoons Baking Powder
- 1 teaspoon Salt
- 2 teaspoons Apple Cider Vinegar or Lemon Juice (I used the cider vinegar)
- ¼ Cup Olive Oil
- 2 Large Eggs
- The cast of characters.

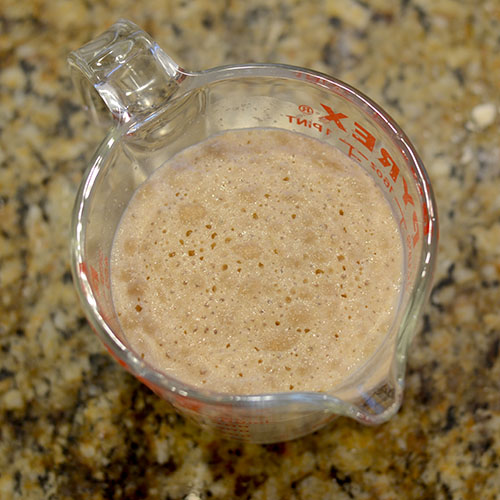
Yeast ingredients & let proof for approx. 10 minutes.
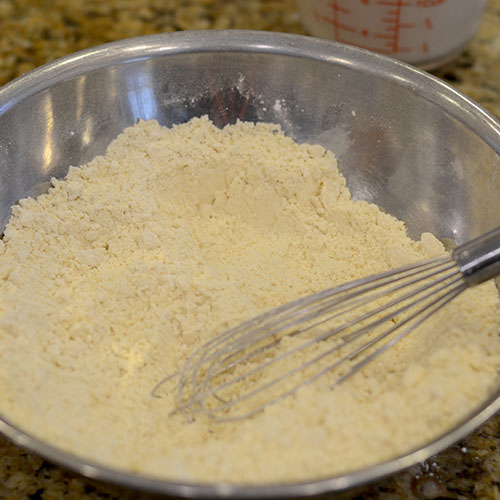
The Dry ingredients
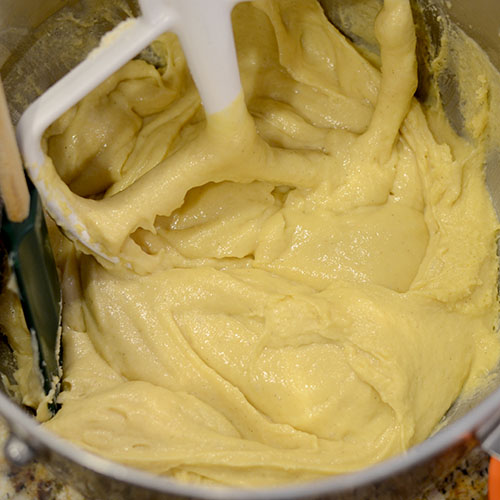
Combine the wet ingredients.
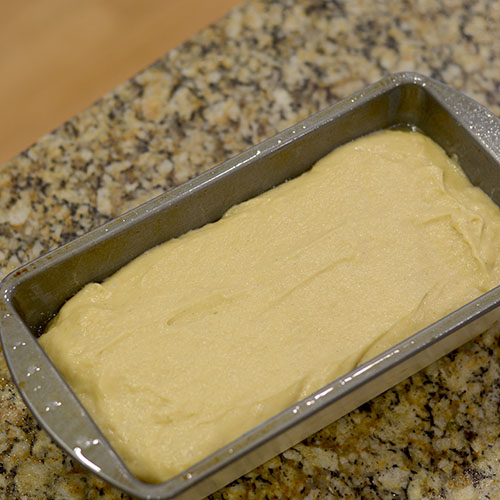
Batter added to the loaf pan.
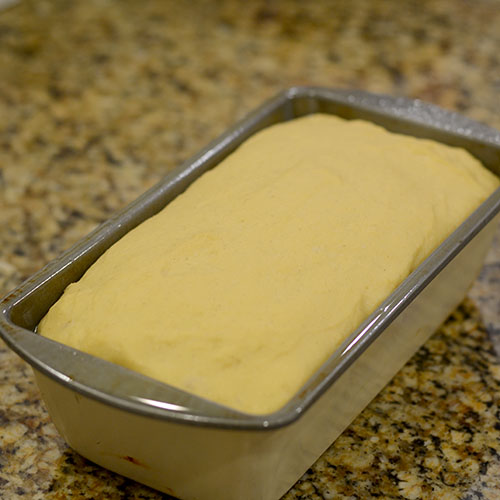
Bread after rising
Bread after baking.
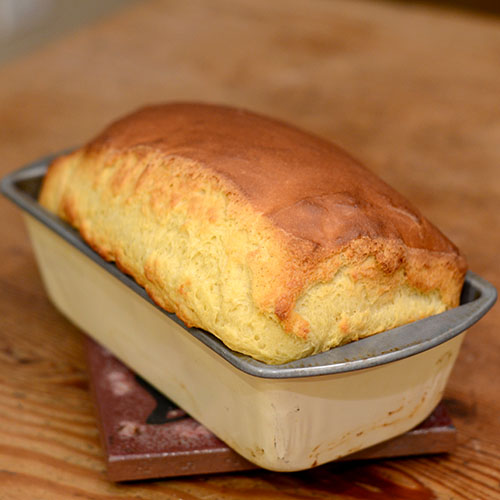
Gluten Free Honey White Bread Plated

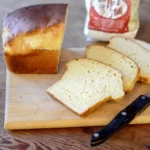
The Recipe
Delicious Gluten Free Honey White Bread
Ingredients
Yeast Mix
- 1 1/2 Cups Water or milk, heated to 110 degrees
- 2 1/2 Tsp Active Yeast
- 3 – 4 Tbsp Honey
Wet Mix
- 1/4 Cup Olive Oil
- 2 Tsp Apple cider vinegar
- 2 Large Eggs
Dry Mix
- 3 Cups Bob's Red Mill 1 to 1 Gluten Free Baking Flour
- 1 1/2 Tsp Xanthan Gum
- 4 Tsp Baking Powder
- 1 Tsp Salt
Instructions
Yeast Mix
- In measuring cup, pour in 110 degree water (or milk), add the honey and the Yeast. Set-aside & let bloom for approximately ten minutes.
Building the Gluten Free Bread
- Meanwhile, combine the dry ingredients in a stand mixer and mix everything together. Next, add the yeast mixture into the mixing bowl. Mix until just combined. Once absorbed, add the eggs and olive oil and beat on medium-high for approximately 3 minutes. The dough will be wet and a tacky. Spray the loaf pan with non-stick spray. Pour the dough into the loaf pan. Note, that you want the mixture to come up about 3/4 of the way up the loaf pan. Find a warm spot in your kitchen and let the loaf proof until the dough gets to just below the bottom of the loaf pan. This will take anywhere from one to three hours. You do not want to let the proof rise above the loaf pan or your bread will likely fall during baking.In a pre-heated 375 degree oven, add the bread on a middle shelf. Bake for approx. 35 -45 minutes. If the crust is darkening too quickly, you can cover it with foil and return to baking until done. You do need to watch the bread. The best way to know when it is done is to check with a thermometer. You are looking for approximately 210 degrees. When the bread is complete, remove from the oven and after a few minutes, take the bread out and place on a wire rack. Unlike gluten breads, it is best to let the bread cool completely before cutting.Serve and enjoy!



Responses
comments – I answer every one.
I am experienced baker but am new to baking GF yeasted bread. I looked at a lot of recipes and decided to try your recipe. My first attempt the bread was tasty, but I I let it rise too much and it sort of sank in the middle. The second attempt was better as I didn’t let it rise as much. Then I bought a Pullman loaf pan and voila, it was perfect! I been making toast, French toast,grilled cheese sandwiches,croutons. It truly is very versatile! My husbands loves it too.
You made my day. Experience is a great teacher. You knew how to navigate. You definitely can’t let these rise too much. I made that mistake early on. Another real winner of a recipe is the ciabatta. It is very forgiving. I used that same recipe to make sandwich rolls. They turned out great. I have not posted that recipe yet. Let me know what else you try.
I have added about 1/2 cup both pumpkin seeds and sun seeds … very tasty. Makes more complex. I’ve also started baking at 385 f.
Love this bread and so does my hubby!
That sounds like a great idea. So glad the recipe is working out for you. Bread is so finicky, and obviously the 385degrees is working for you.
I’m new to gluten free baking and wondered about the batter thickness of your honey gluten free bread. In your recipe, you said to pour the batter into the PAN. So my question is, is it pourable once it’s mixed up? My batter was super thick and I had to scrape really hard. I let the bread rise to just below the top of the pan and then baked it, and it never went over the top, like in your picture. I put the amount of milk called for in the recipe, should have i added more liquid? What did I do wrong? I had to bake it about forty five minutes for it to reach two hundred degrees internally, i oiled my PAN, but it still stuck to the sides really bad. And I also tried removing it from the pan within five minutes of it baking. Please let me know your thoughts.
Laura
I am glad you found my recipe and I am so sorry it did not turn out as you wanted. If you scroll down my post, you can see step by step pictures. You will see that the consistency is very batter like. That is how I was able to pour it out. As you probably know, bread is very temperamental and there are any number of factors that can effect it. I have had my share of fails. What I do is keep making the same recipe. Then, I really learn what texture I am looking for. I hope this helps. Please respond back if you have further questions. Happy to help.
Thank you for getting back with me promptly and for the advice. I will keep at it until I get it right.
Laura my name is Chris Burkley and I have been baking GF, DF, RSF/SF for many years. My question to you is did you spoon the flour into the measuring cups and level it off with the straight edge of a butter knife, or did you scoop the flour with the measuring cup, then level it off. That might be the issue with your bread.
I scooped it into a cup and leveled it off with a straight edge. I have also started to use a scale and measure my flours more. But that is not always necessary. Thanks for reading and sharing your idea with me.
In your description it says 2 eggs but in your recipe it says 3 eggs – I wanted to know which is correct. Thanks you.
Thx for the catch Shelly. It should be 2 eggs. Let me know how the recipe turns out for you?
Hello, Peter. This is the fourth gluten free bread recipe I’ve tried. The first three were throw-aways. This one is definitely a keeper. Although it had a few bumps in the road process (needed to substitute brown rice flour for buckwheat because I didn’t have any. Second needed to be put in the refrigerator for about an hour because I had to go somewhere. Third my oven didn’t heat correctly. My husband, who is celiac, likes it a lot. Couple of questions I didn’t see addressed in either the recipe notes or remarks from readers The first is about storing the bread-counter for how long, refrigerator for how long and frozen for how long? Macros? We are both prediabetic & need to watch carbs.
Definitely will be making this recipe often. Thank you for the great recipe.
Would omit xantham gum if it’s in flour mix?
It will have some impact because the xantham gum acts as the binder. The biggest challenge with GF breads is holding together.
What does the carb count look like on this break?
I do not know for sure. Based on some searching, it would seem that the carbs are 9 – 12 grams per slice. Hope this helps.
I love this recipe! My boys and husband really liked the texture. The only concern is that my son said it had a strong smell of yeast. What can be done to minimize the smell.
So glad you liked the recipe. There has been such amazing feedback for this recipe. My only idea for the yeast (your boys have a very sophisticated palate – very impressive) – is to add a little more apple cider vinegar or lemon. The acid might balance that smell.
How do you know when it’s done baking?
The best way to know is to insert a temperature gauge. When it reads 205 – 210 degrees, it is done.
Thank you! Trying today.
This recipe is epic! The bread reminds me of regular bread although it’s been so long it’s hard to tell. But boy it is good!
I am so glad you liked it. Epic is an awesome result. Thx for sharing.
Hi I just finished my first gf loaf using your recipe and it tastes delicious! However I did something wrong. The top split from the bottom. I think it rose too quickly? Was it a matter of temp?
Want to try it again definitely!
hard to know. Breads are very temperamental. My guess is, as you noted, the rise was too long. One way to protect against that is to leave it in the oven with the temperature off and the door open for a few minutes after the cooking time is complete. I am so glad you liked it!