
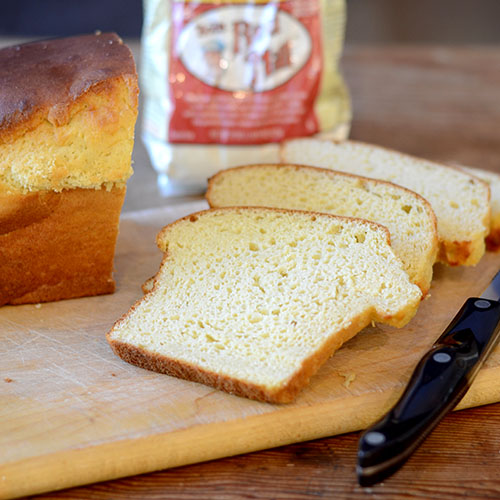
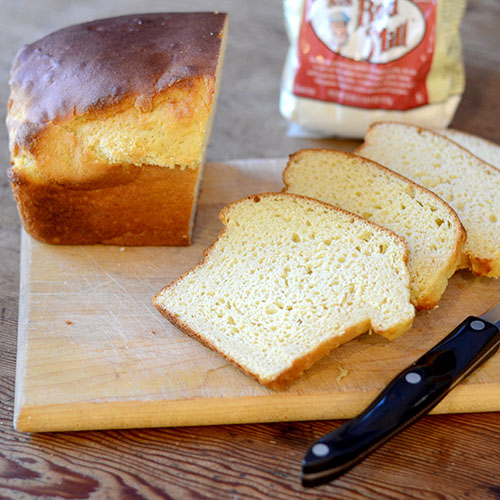
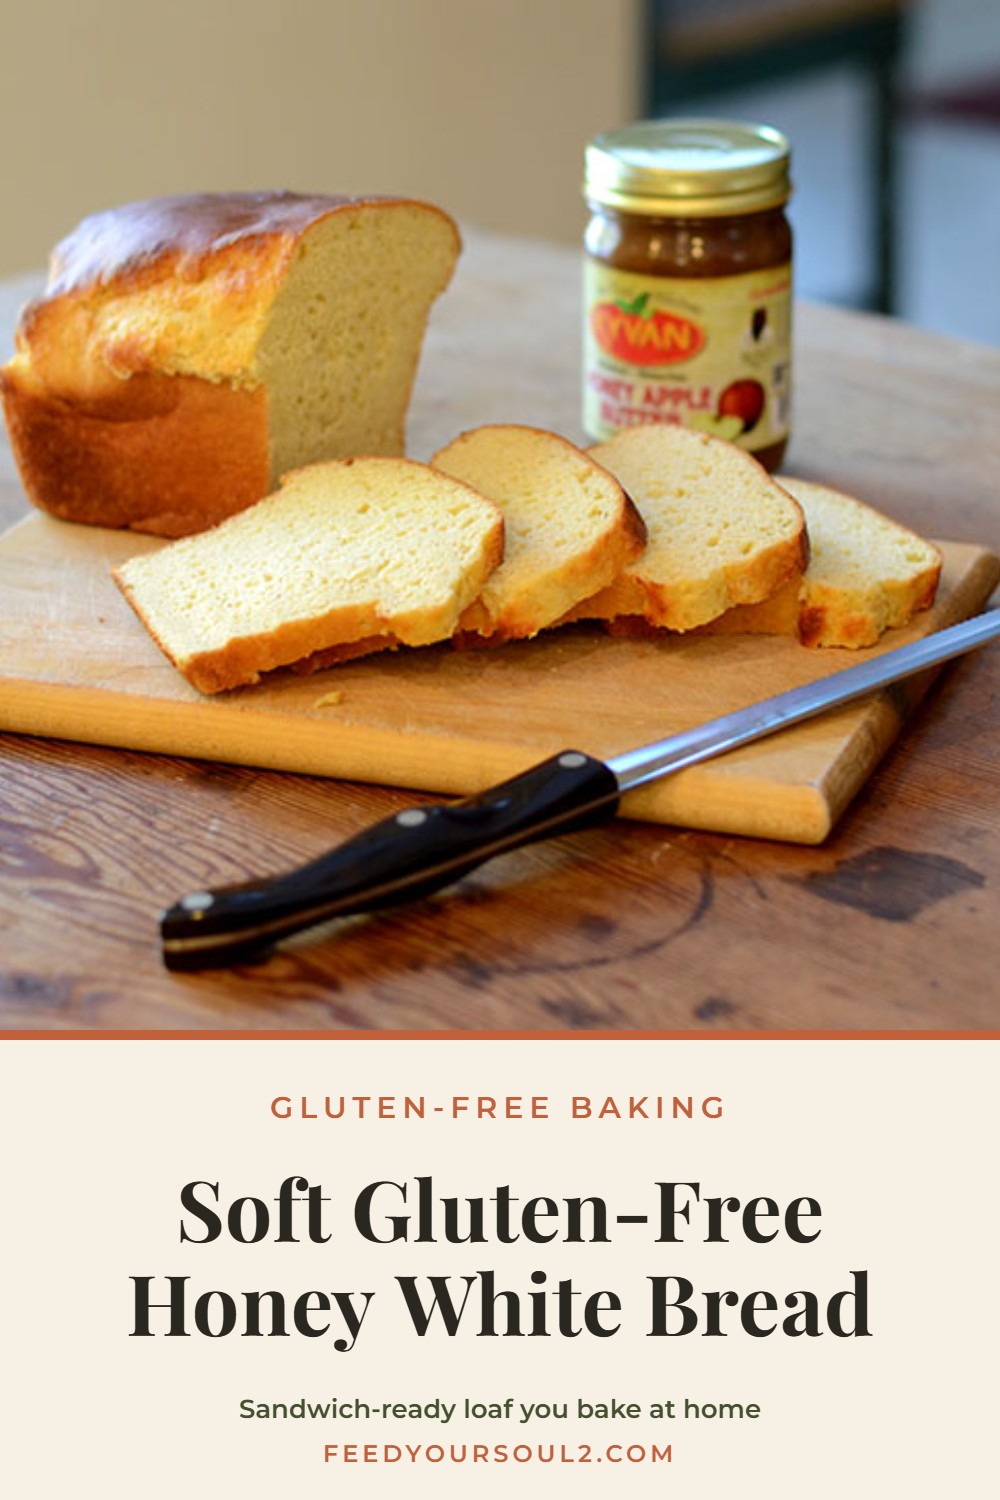
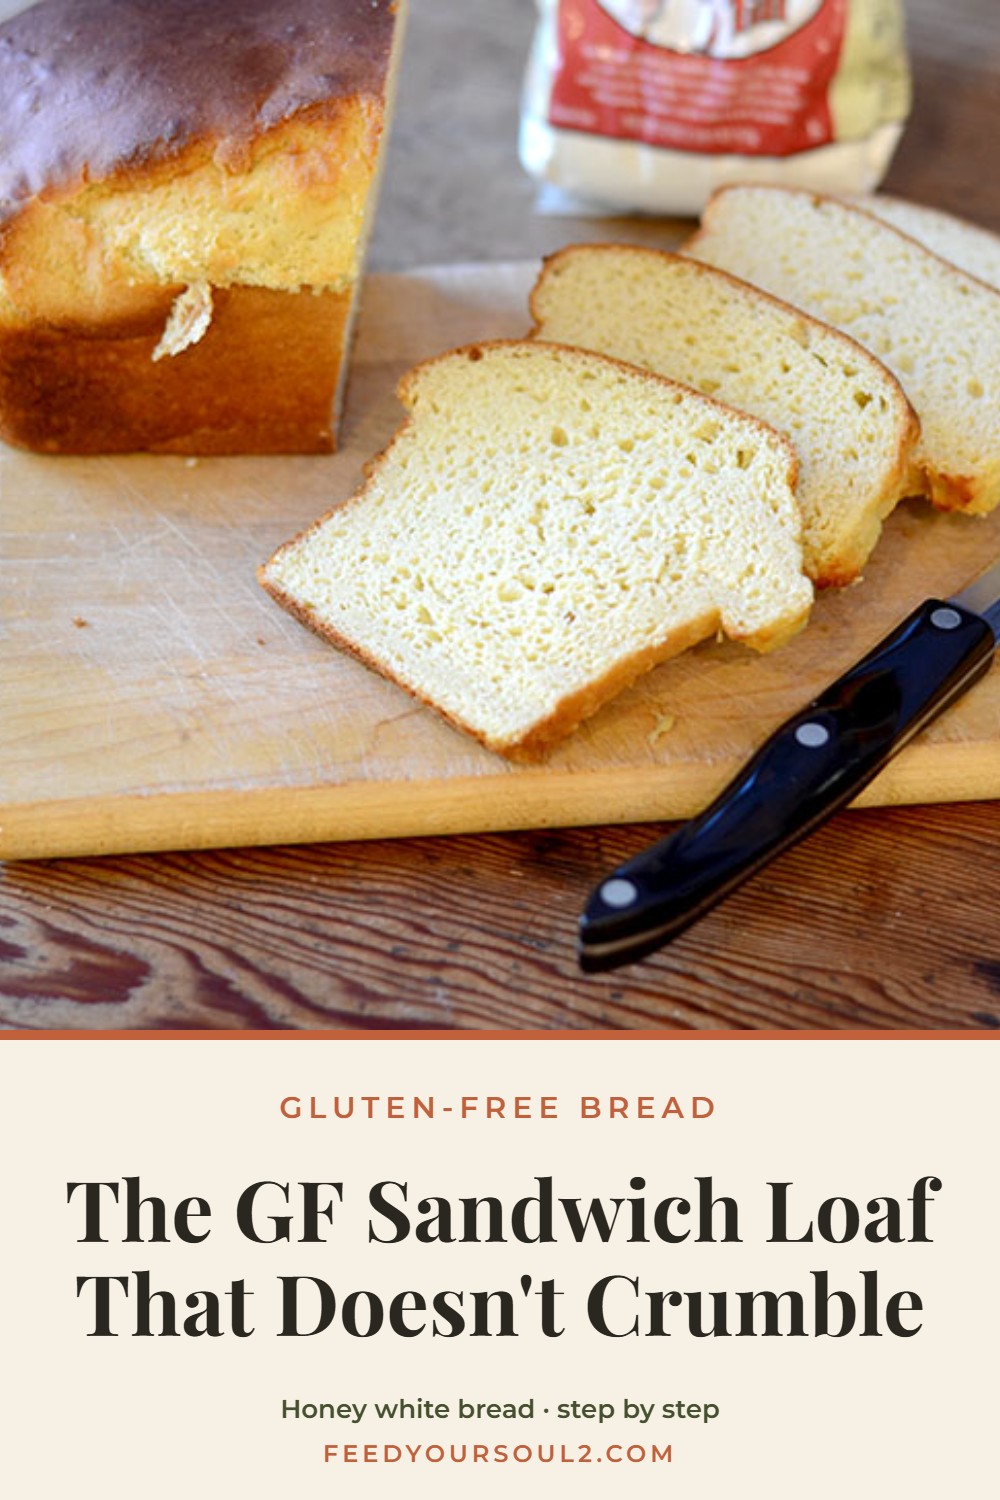
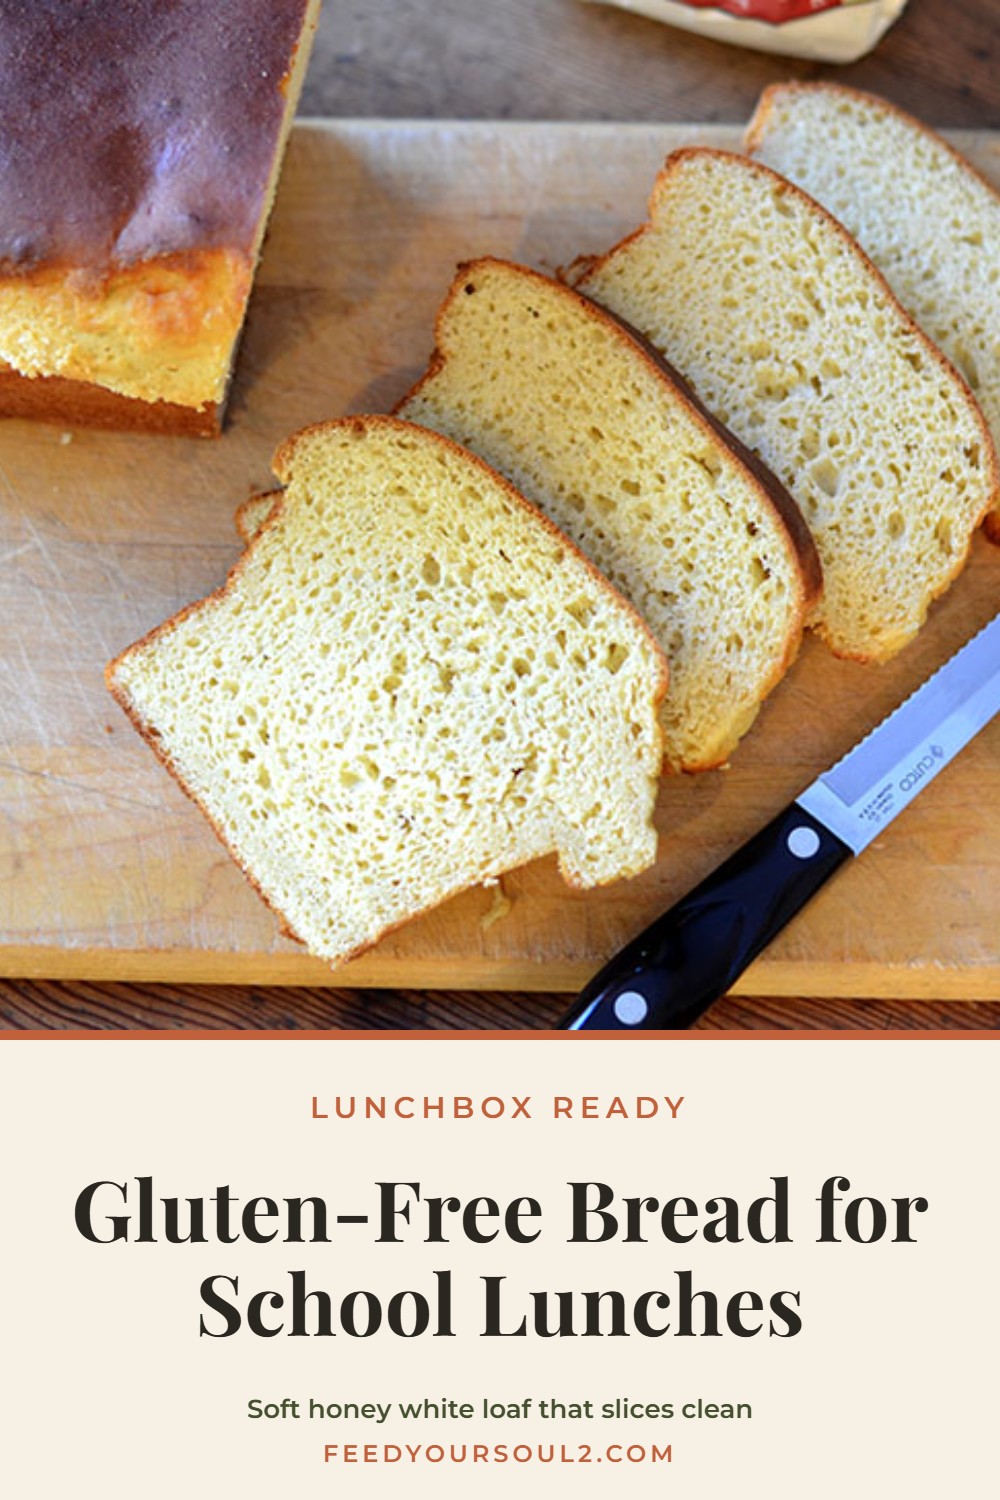
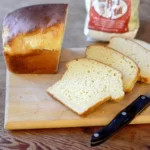
This Gluten-Free Honey White Bread is the most-visited bread recipe on my blog, and for good reason. It’s soft, fluffy and, most important, it holds together. You can slice it thin, toast it, spread it with butter and build a real sandwich without it crumbling in your hands.
I now eat mostly gluten-free, so having good bread at home matters to me. I know it matters to a lot of you too. Store-bought gluten-free bread is expensive and usually disappointing, and the best way I’ve found to have bread I actually want to eat is to bake it myself.
The beauty of this loaf is how simple it is. There’s no kneading and no shaping. You bloom the yeast with warm water and honey, beat everything together in a stand mixer, pour the batter into a loaf pan, let it rise and bake it. It uses one flour blend, Bob’s Red Mill 1-to-1 Gluten Free Baking Flour, which you can find in most grocery stores.
Over the years I’ve baked a lot of gluten-free breads with different flours, from teff and oat to psyllium sourdough. This is still the one I tell people to start with. If you want to see the others, they’re all in my roundup of 7 Gluten-Free Bread Recipes I Actually Bake.
Jump to Recipe
Why You’ll Love This Gluten-Free Honey White Bread
- It holds together. Eggs, xanthan gum and a good flour blend give it real structure, so it slices and holds a sandwich.
- No kneading. The dough is more like a thick batter. Your stand mixer does the work.
- One flour blend. No need to buy five different gluten-free flours.
- Soft and lightly sweet. The honey gives it a tender crumb and a golden crust.
- Great toasted. Perfect for grilled cheese, French toast and breakfast sandwiches.

Key Ingredients for Gluten-Free Honey White Bread
Bob’s Red Mill 1-to-1 Gluten Free Baking Flour
This is the base of the loaf. It’s a well-balanced blend that behaves a lot like regular flour. If you’d like to learn more about how different gluten-free flours work in bread, see my Ultimate Guide to Gluten-Free Flours for Bread Making.
Xanthan Gum
Xanthan gum helps bind the dough and keeps the bread from crumbling. Bob’s 1-to-1 already contains some, and the extra 1½ teaspoons in this recipe gives the loaf more structure.
Honey
Honey feeds the yeast, adds a gentle sweetness and helps the crust turn golden. Use 3 tablespoons for a lightly sweet loaf, or 4 if you like it a little sweeter.
Eggs and Olive Oil
Two eggs add structure and richness, and the olive oil keeps the crumb soft and moist.
Yeast, Baking Powder and Apple Cider Vinegar
Active yeast gives the bread its rise and flavor. Baking powder adds a little extra lift, and a splash of apple cider vinegar helps it all work together for a lighter texture.
Water or Milk
Either works. Water gives a lighter loaf, and milk makes it a bit richer and softer. Warm it to about 110°F so it wakes up the yeast without killing it.
How to Make Gluten-Free Honey White Bread
The full recipe with exact amounts is in the recipe card below. Here’s how it comes together.
Tips for the Best Loaf
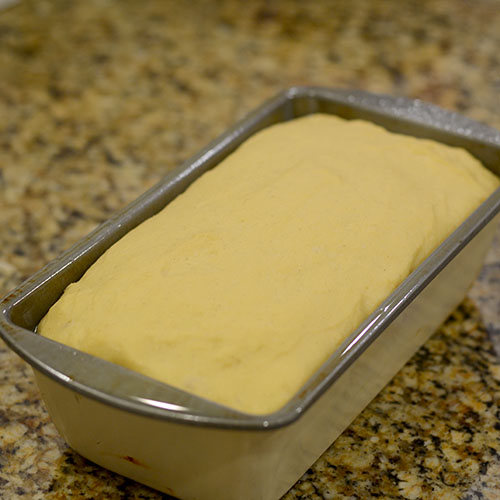
- Don’t let it over-rise. Stop the rise when the dough is just below the top of the pan. If it rises above, the bread will likely fall in the oven.
- Use a thermometer. The surest way to know it’s done is an internal temperature of about 210°F.
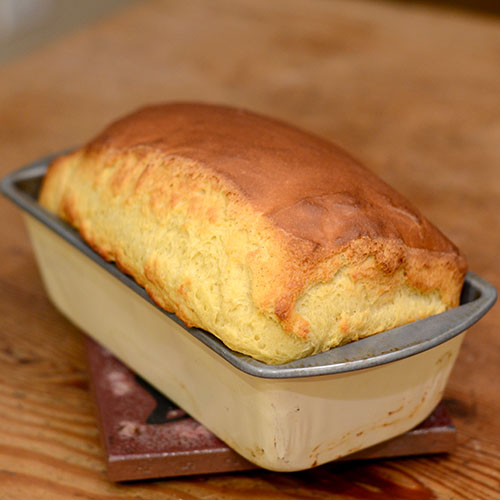
- Watch the crust. If it’s browning too fast, tent it loosely with foil and keep baking.
- Cool it completely. Unlike wheat bread, gluten-free bread needs to cool all the way before you slice it, or the inside will be gummy.
- Bread machine? A lot of you have asked. One reader, Birdie, told me it turned out in her bread machine, but she liked it even better when she mixed it in the machine, moved it to a loaf pan and baked it in the oven.
The Best Thing Since Sliced Bread
We say “the best thing since sliced bread” without thinking about it, but sliced bread is younger than you might guess. Otto Rohwedder, a jeweler from Iowa, spent years building a machine that could slice and wrap a whole loaf. The first bread sliced on it was sold in 1928 by a bakery in Chillicothe, Missouri, and within a few years most bread in American stores came pre-sliced. Soft, square sandwich loaves like this one became the standard for the lunch box, which is exactly what I wanted from a gluten-free loaf: something you can slice evenly and use every day.
Serving Suggestions
- Grilled cheese: butter the outside and toast low and slow.
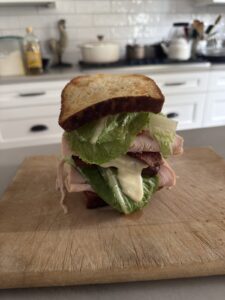
- Sandwiches: it’s sturdy enough for turkey, tuna salad or a BLT.
- French toast: day-old slices soak up the custard beautifully.
- Toast: with butter and honey, or avocado and an egg.
- Leftovers: turn the ends into breadcrumbs or croutons.
More Gluten-Free Breads to Try
- 7 Gluten-Free Bread Recipes I Actually Bake
- Gluten-Free Psyllium Husk Bread
- Teff and Oat Flour Gluten-Free Bread
- Gluten-Free Artisan Oat Bread
- Gluten-Free Flax Bread
Final Thoughts
If you’ve been disappointed by gluten-free bread before, give this one a try. It’s simple, soft and sturdy, and it’s the loaf that convinced me homemade gluten-free bread was worth the effort. Let me know in the comments how yours turns out.
This recipe was adapted from A Little Insanity.
The Recipe
Delicious Gluten Free Honey White Bread
Ingredients
Yeast Mix
- 1 1/2 Cups Water or milk, heated to 110 degrees
- 2 1/2 Tsp Active Yeast
- 3 – 4 Tbsp Honey
Wet Mix
- 1/4 Cup Olive Oil
- 2 Tsp Apple cider vinegar
- 2 Large Eggs
Dry Mix
- 3 Cups Bob's Red Mill 1 to 1 Gluten Free Baking Flour
- 1 1/2 Tsp Xanthan Gum
- 4 Tsp Baking Powder
- 1 Tsp Salt
Instructions
Yeast Mix
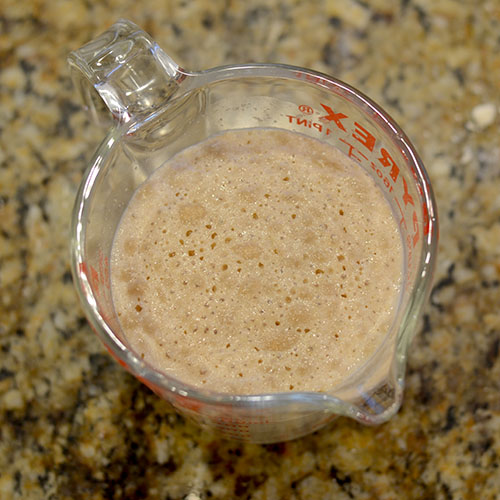
- In measuring cup, pour in 110 degree water (or milk), add the honey and the Yeast. Set-aside & let bloom for approximately ten minutes.
Building the Gluten Free Bread
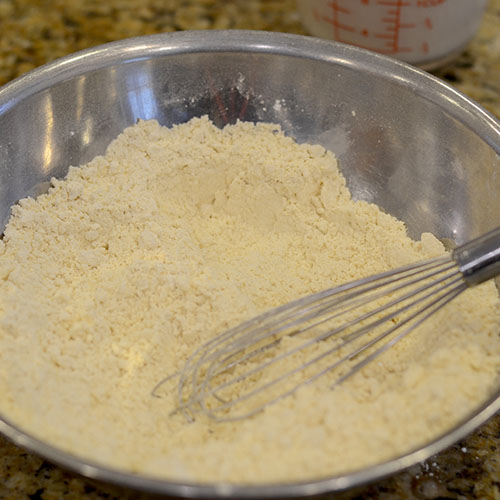
- Meanwhile, combine the dry ingredients in a stand mixer and mix everything together.
- Next, add the yeast mixture into the mixing bowl. Mix until just combined.
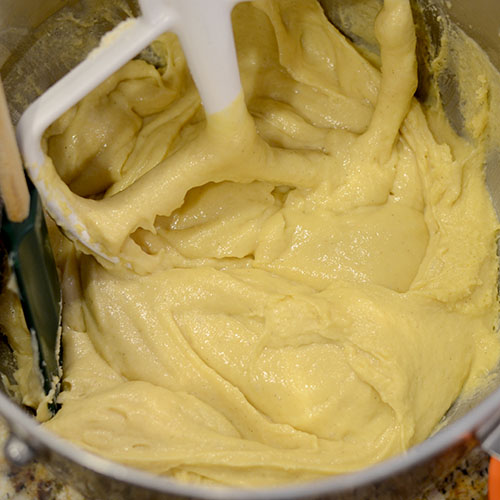
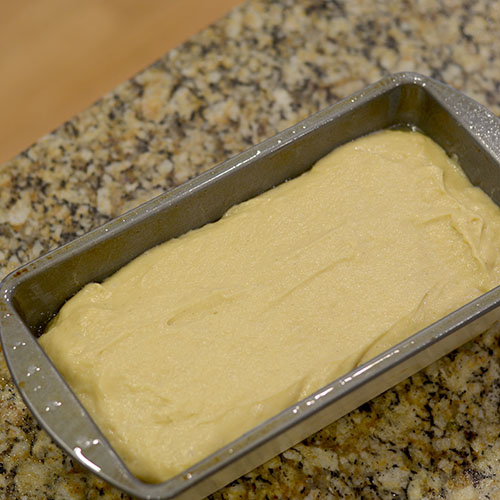
- Once absorbed, add the eggs and olive oil and beat on medium-high for approximately 3 minutes. The dough will be wet and a tacky. Spray the loaf pan with non-stick spray.
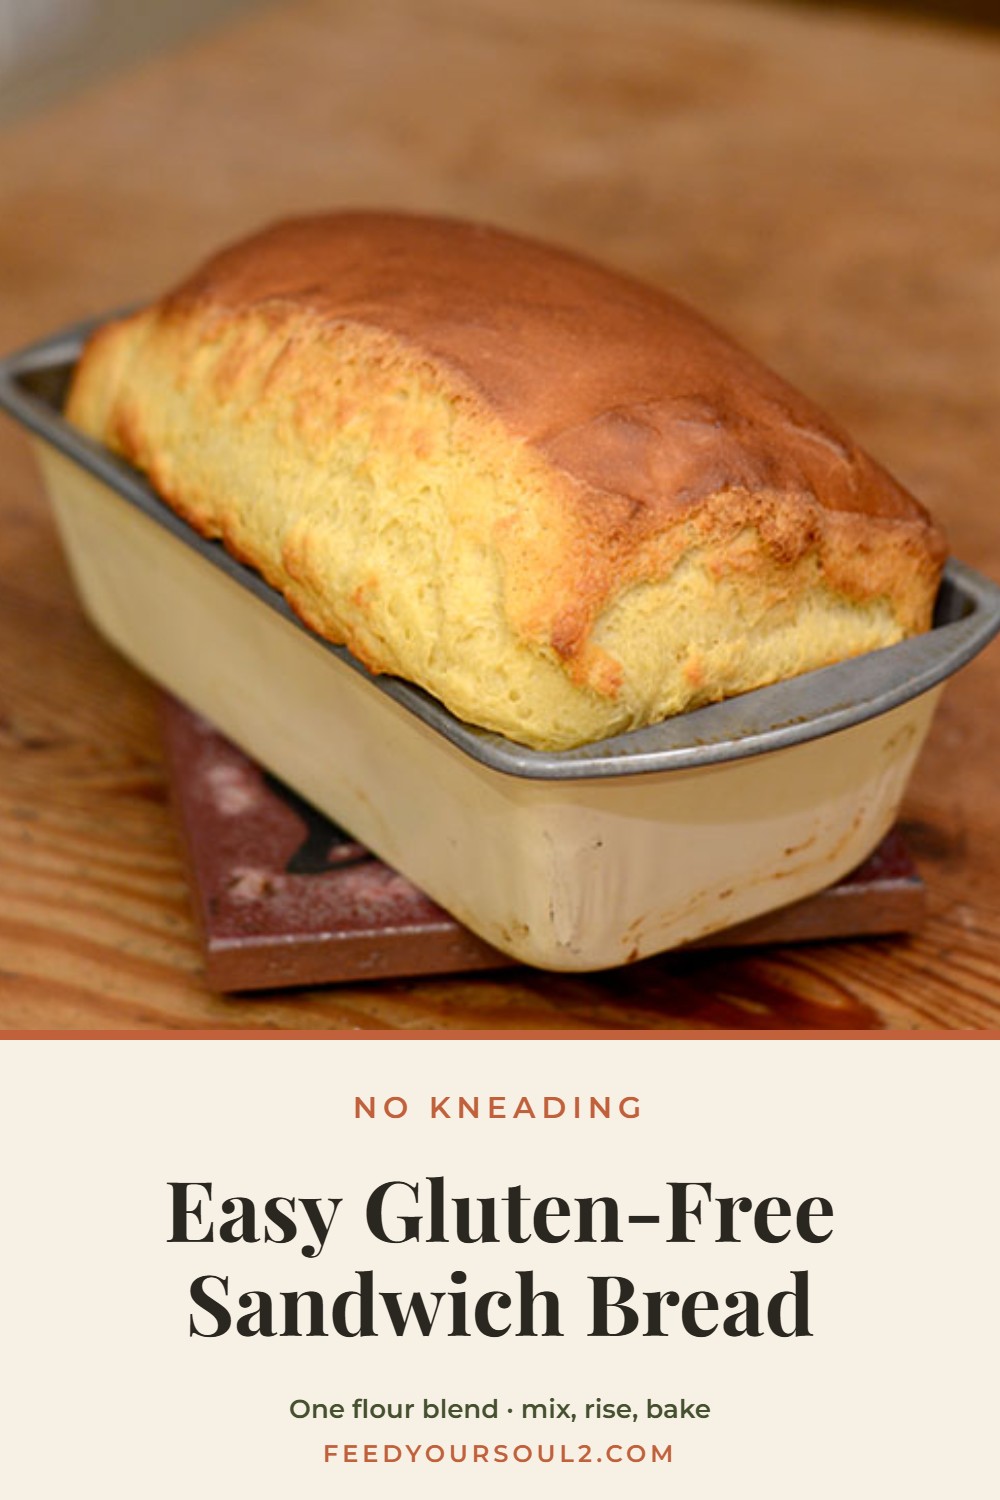
- Pour the dough into the loaf pan. Note, that you want the mixture to come up about 3/4 of the way up the loaf pan. Find a warm spot in your kitchen and let the loaf proof until the dough gets to just below the bottom of the loaf pan. This will take anywhere from one to three hours. You do not want to let the proof rise above the loaf pan or your bread will likely fall during baking.
- In a pre-heated 375 degree oven, add the bread on a middle shelf.
- Bake for approx. 35 -45 minutes. If the crust is darkening too quickly, you can cover it with foil and return to baking until done. You do need to watch the bread. The best way to know when it is done is to check with a thermometer. You are looking for approximately 210 degrees.
- When the bread is complete, remove from the oven and after a few minutes, take the bread out and place on a wire rack. Unlike gluten breads, it is best to let the bread cool completely before cutting. Serve and enjoy!





Responses
comments – I answer every one.
Has anyone made this bread with rapid rise yeast? It’s all I have on hand at the moment. Hoping it works as well!
I have not heard that from my readers but that should not be an issue. Let me know how it turns out?
Hello, Have you tried this recipe with an egg substitute? I have a daughter that has celiacs and also allergic to eggs.
I have not at this point. I would certainly think that the egg substitute would work just fine. You are simply looking for a liquid replacement to act as a binder. If you try this, I would love to hear how it works and want to share your results with my readers. I will also make a note and may try it myself this weekend to see the results.
I made this bread yesterday it was by far the best gf bread I did not have a metal loaf pan I only had glass I baked it at 350 for 30 minutes it was moist soft and perfect I will never by the gf bread in the store again I don’t not have Celica but my husband does and he loved this bread as well
I am so happy for you both. Next, you need to try some of the other gluten free bread recipes I have made. Let me know if you do.
I defiantly will where can I find the recipes
Michelle, just use the search bar and type in bread. You will see some breads I also made before I became gluten free but you will find my gluten free recipes. Also, if you are following the blog, you should have had an opportunity to download an ebook or some gluten free bread recipes.
Hi there, I am wondering if this would be a good bread to use to make stuffing for turkey dinner?
Jenn, it would be OK but a heartier bread would be better. Search my blog for my other gluten free artisan breads. Those would be best. If you do, however, use this white bread, be sure to let it get stale.
Been gf 5 yrs. Never going back. Love it. I looked at this recipe and noticed no salt. Every bread I ever made had salt. Must get good from other’s comments. Will make.
Lorraine, I made it a long time ago so I do not remember. I went on line to look at Bob’s Red Mill recipe and it does say 1 tsp of salt. I am guessing that you are right. Thx for letting me know.
This looks great! Any chance this can be done in a breadmaker? My breadmaker has a Gluten Free setting. Thank you! I am gluten intolerant as is my son & grandson.
Barbara, I have not tried this in a breadmaker but I would think it would work. Why don’t you try it and let me know how it turns out. Good luck!
Did it work in the bread machine?
I have never tried it in a bread machine but I would think it would work.
Hi, it worked great & it’s very good!
Thankvyou
I am so glad. Someone else just asked the same question, so now I can safely tell my readers that it does work. Thanks so much for sharing with me!
Can I use the Bobs Redmill gluten free cup for cup baking flour instead of the Bobs Redmill all purpose flour????
Absolutely. I have also had good luck with Bob’s 1 to 1 GF baking flour.
With Bobs 1 to 1 baking flour do I still need to add xanthan gum even though in already in the flour?
I did use it and I also googled to see what other people had done as well and they did add it to it as well. You could try it without it. If you do, let me know how it turns out. Remember the function on the xanthum gum is to provide elasticity and stickiness in the dough.
I still added the xanthum gun as well and it turned out AWESOME!!!! Best Gluten Free bread I’ve had yet. My grandson loves it!!! It is much better than the expensive UDI bread that comes frozen.
That is so great to hear. Baking bread yourself instead of buying store bought bread – NO COMPARISON!
Will an hand mixer work for this recipe? I do not have a stand mixer.
A hand mixer will be ok but it is hard for the dough to come into a ball. You could start with that and then finish kneading with your hands. Let me know how it turns out.
I made this bread today and had a sandwich with it and I loved it!! I’m going to make more Tom. Just wondering about storing and also keeping a loaf for daily usage? Thank you so much!!
I find it stores just fine. What I do is to slice it and then freeze it. Then, I pull out pieces as I need it. Best toasted.
Hi just made your bread for my gluten free daughter! It looks good but didn’t rise as nice as yours,I think my yeast is on the older side! Hope it tastes as good as it looks,thanks for the recipe it’s a challenge making tasty gluten free items
Marianne, in general, gluten free breads do not have as much volume as there gluten counterparts. And you definitely need good yeast. I too have used old yeast and it makes a difference.